
If you’re new to our Signup Tool, or you’re a returning user who needs a refresher, we’re here to help! It can be intimidating to learn and successfully utilize new software. These tips will help you get off and running in minutes, and ensure your first signup is a success!
Title Your Event
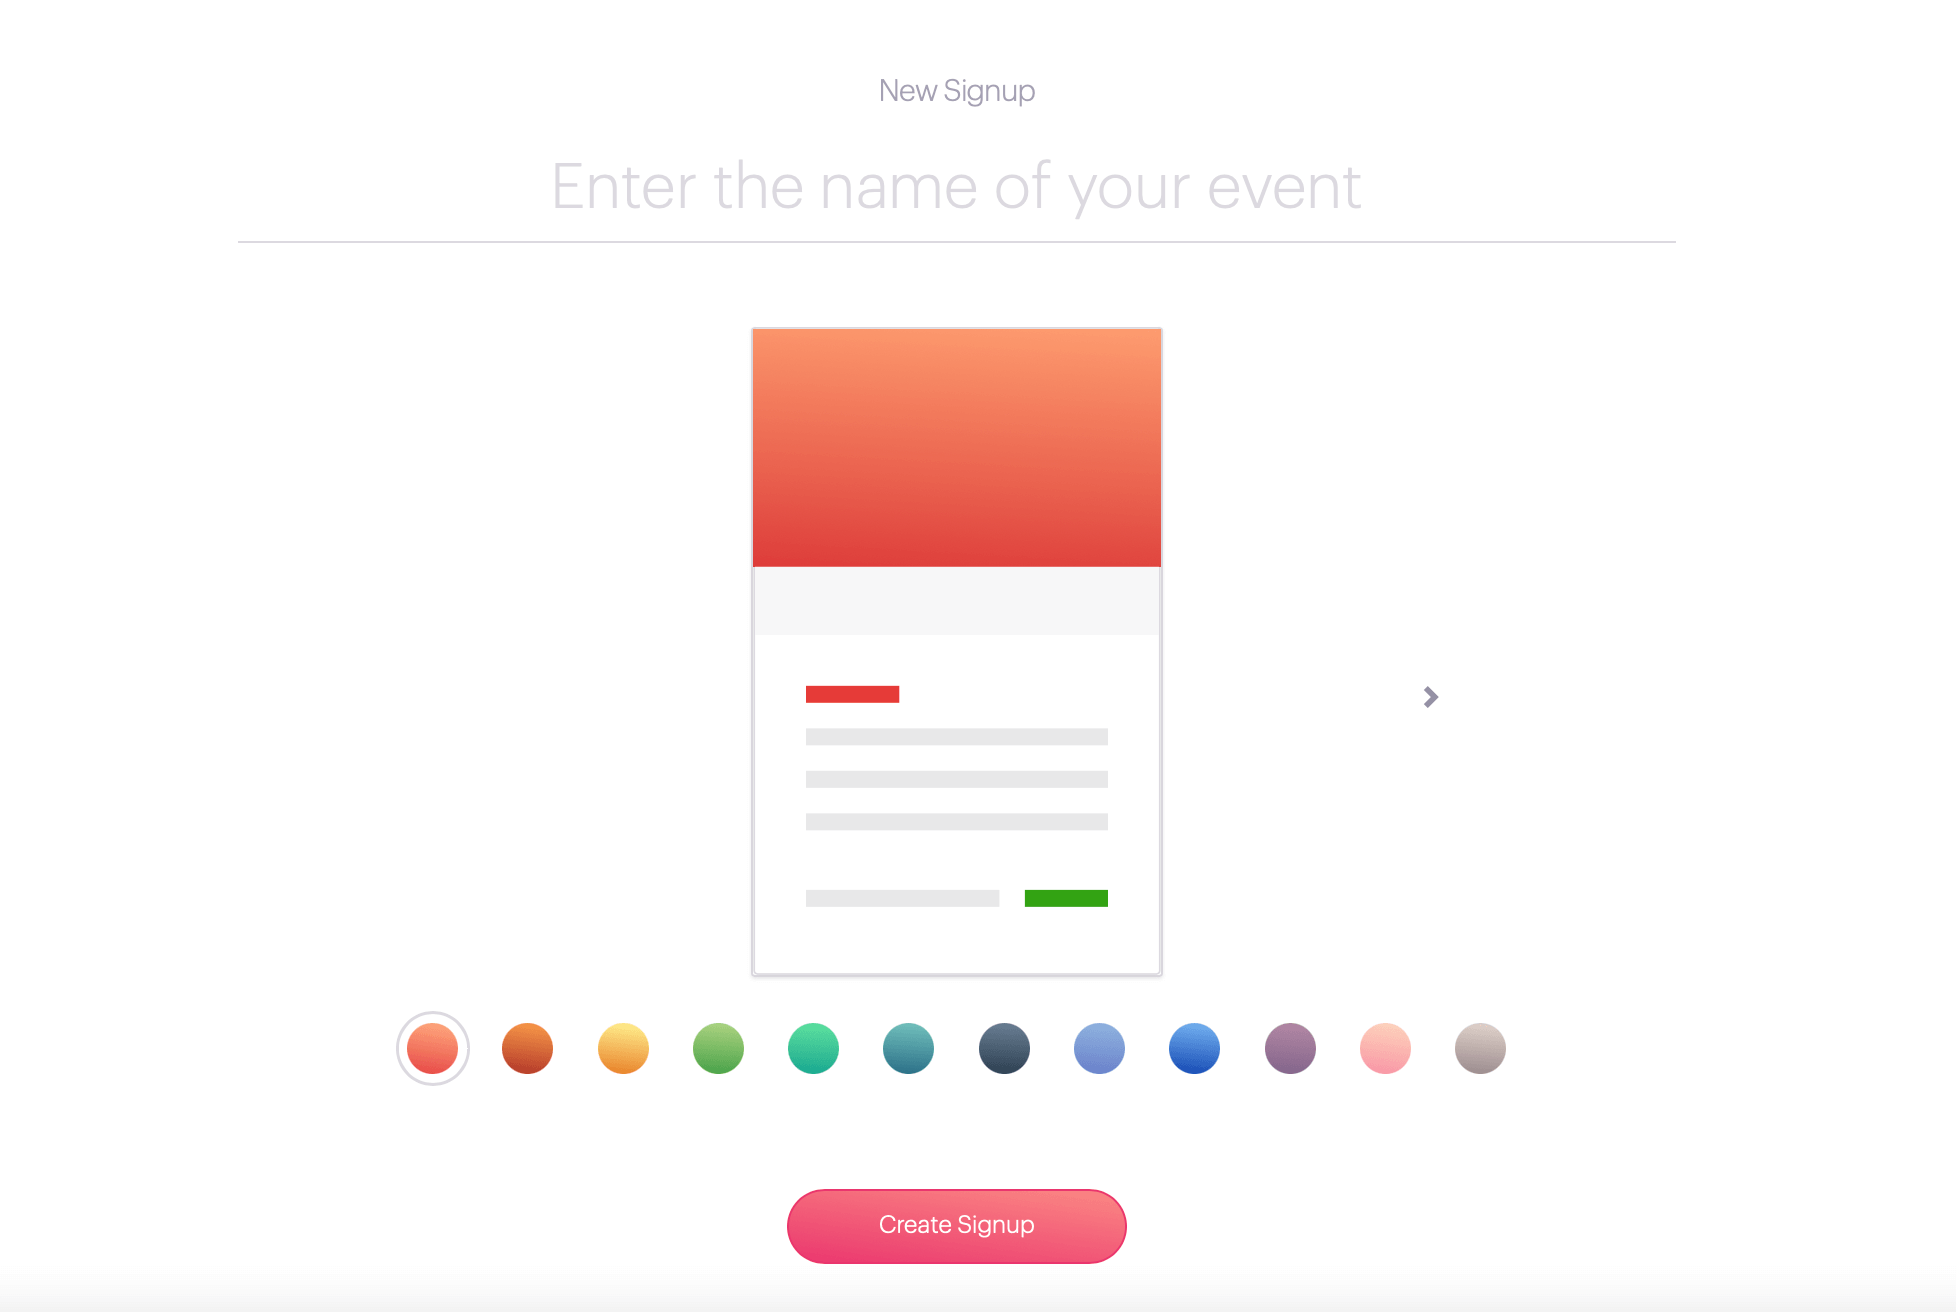
Setting an Event Title ensures your invitees know what event they’re signing up for right off the bat. After clicking “New Signup,” all you have to do is type in the name of your event and select the “Create Signup” button. You can also change the color of your event’s background to match your company, school, or club’s logo.
Add an Event Description
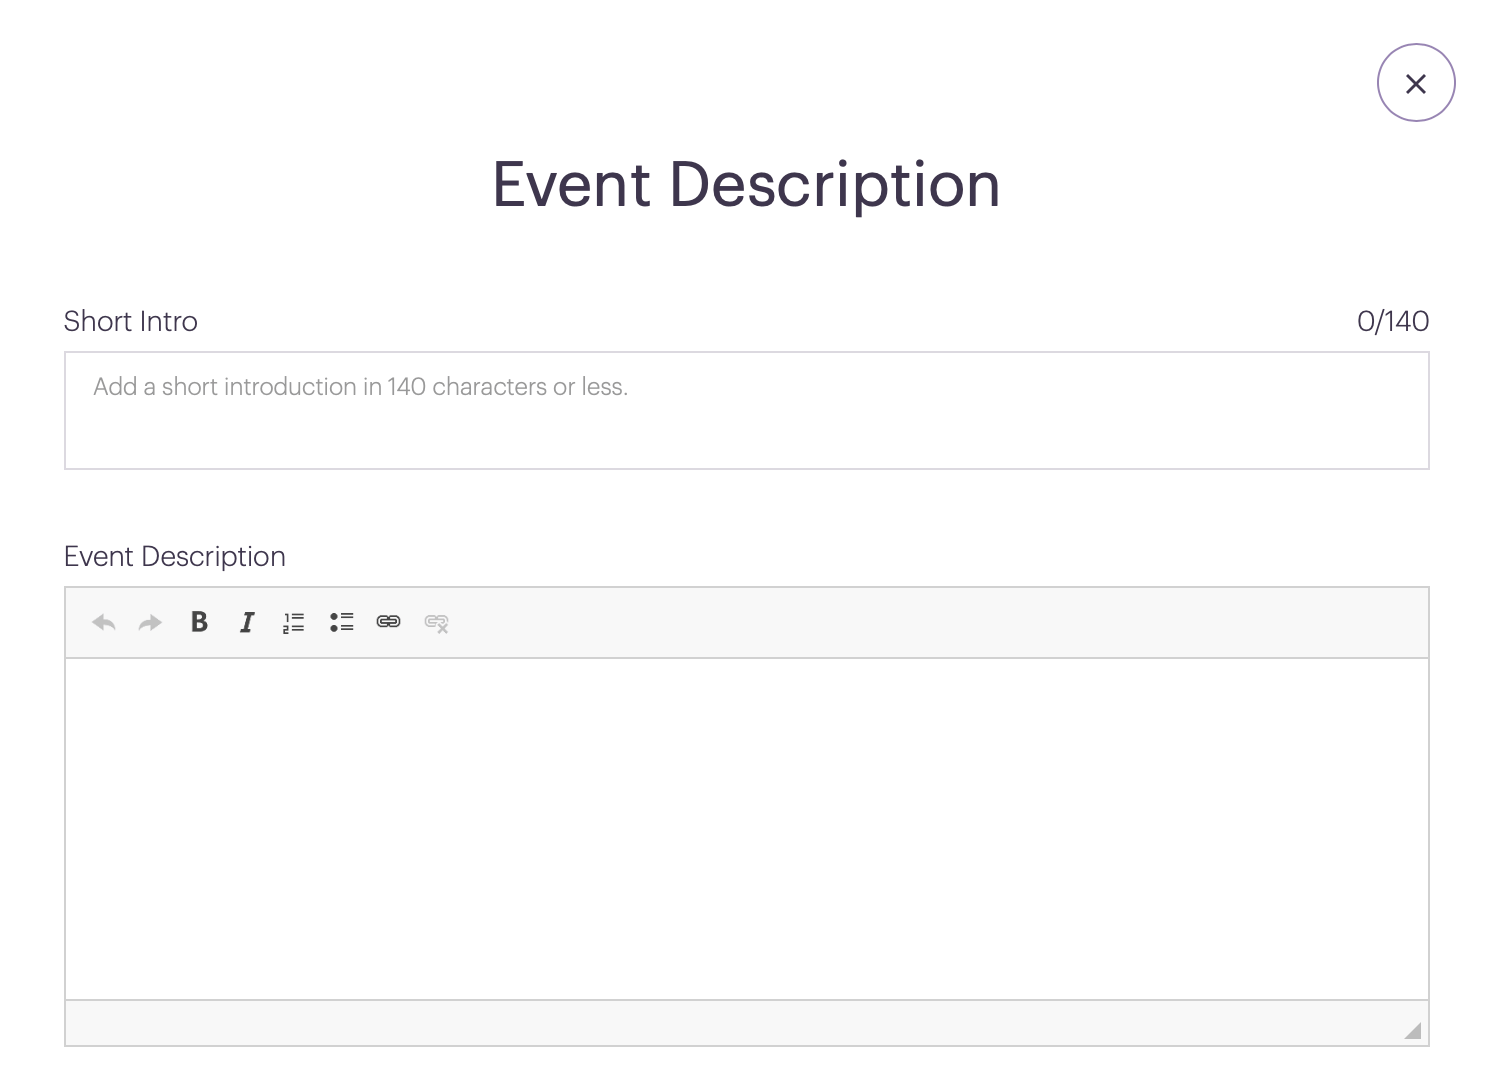
In the Event Description section, you can provide your invitees with any extra information they might need about your event. Providing an event description ensures your attendees know what your event entails, and can prepare for the event in advance if need be. This helps invitees feel more confident about participating.
For example, if you’re hosting a potluck and want to provide recipe options, you can insert a link in your description. We’ve compiled a list of summer potluck recipes for you here.
Another example: if you’re planning a volunteering event, you can use the Event Description to provide details about each volunteer position. You can also add some words to help invitees remember why they’re volunteering and keep the cause front and center.
For Parent-Teacher Conferences, you can also easily let parents know if they need to bring anything along to take notes with. The options are endless!
Add Dates, Times, and Locations
Now that you’ve titled and described your event, let your invitees know when and where the event is taking place by setting up your Date, Time, and Location.
Single Day Events
For single day events, all you have to do is select the date of your event and provide start and end times. You can then provide the name of your venue and include the street address. Our address feature connects to Google Maps, so invitees can easily view the location of your event on their devices.
Multi day or Recurring Events
If your event takes place on multiple days, or recurs weekly, simply check the “Recurring” button next to your start date and times. Checking this box drops down a section where you can set up your end date, and select on which days the event will occur.
For example, if your event starts on Friday and ends on Saturday, you can select Friday and Saturday for your event to recur. This will create two event dates, where you can then add your signup lists.
For events which recur weekly, such as an event taking place every Sunday, you can select for only Sunday to repeat.

End Dates for Recurring Events
When creating a recurring event, make sure to set the proper end date! This way, your participants will only be signing up for time spots on the appropriate dates.
Add a Signup List
Now that you’ve set up your Event Description and Date, Time, and Location for your event, you can add a signup list!
Our Signup Tool offers three kinds of signup lists: Simple Signup Lists, Lists with Time Spots, and Collect Money Lists.
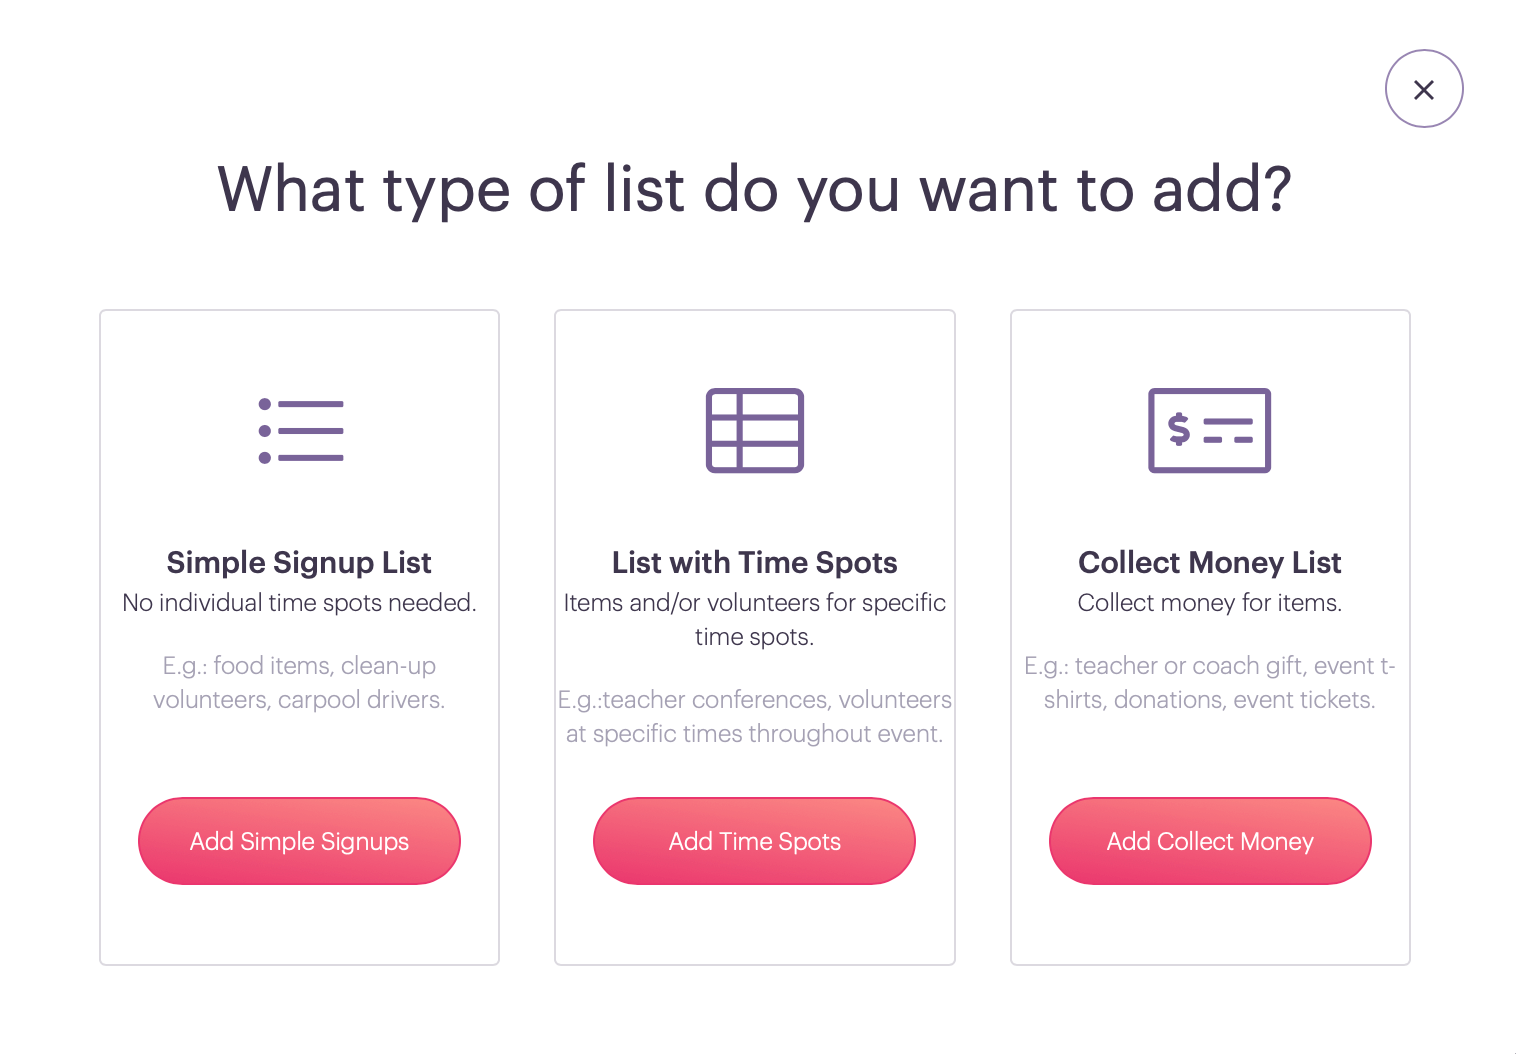
Simple Signup Lists are perfect for potlucks, single spot volunteer events, or Adopt-a-Family donations. They allow you to gather signups from your invitees without setting individual time spots. If your event is short, or you’re gathering food or clothing items, this type of signup list is perfect for you!
To add a Simple Signup List:
- Give your list a title.
- Add list items.
- Select the amount needed if you’d like to limit the number of participants who can sign up, or check the unlimited box!
Lists with Time Spots are great for longer volunteering events, client appointments or interviews, parent-teacher conferences, photography sessions, and more! They allow you to break up longer events into shorter sessions, encouraging wider participation.
To add a List with Time Spots:
- To create time spots all at once for the selected date, choose Add Time Spots with Increments.
- Enter the start and end times of your event (e.g. 8:00 am and 4:00 pm)
- Enter the length of each time spot (e.g. 2 hours)
- To create time spots individually, select Single Time Spot.
If you’d like to collect money for your event, check out this article for an in depth explanation of how to use our Collect Money List feature!
Pro Tip: You can choose to apply your new signup list to a single date by selecting “Just This Date & Location” or you can apply your signup to every day of your event by selecting “All Dates & Locations.” If you’re creating a multi-day or recurring event, this feature helps you save time, allowing you to launch your event in minutes!

When to Track Attendance
Our Signup Tool’s settings allow you to track attendance for single day events. This feature is most helpful for single-day potlucks, parties, or events in which you need to know who is attending (think RSVPs).
For example, when hosting a potluck some guests might not be able to bring food or beverages, but still plan on attending the event. Having an accurate headcount allows those who are preparing food to ensure they have enough for everyone! In this instance, using our “Track Attendance” feature alongside a Simple Signup List will allow you to keep track of both attendees and what people are bringing to the potluck- all on the same event page!
People sometimes make the mistake of using BOTH the Track Attendance feature AND a Signup List to accomplish the same thing. This can cause confusion for your invitees. In this case, it is best to opt to use only one or the other and typically that will be a Signup List. This ensures your participants will sign up for your event in the appropriate place.
Some examples of events where you might choose not to track attendance include: volunteering events with multiple time spots, client appointments or interviews, photography sessions, and parent-teacher conferences.
Launch Your Event
So you’ve titled your event, set up the date, time, and location, and added a Signup List. It looks awesome! Now what?
Great question!
Once you’ve gotten your event up to snuff, you’re ready to launch. Select the pink “Launch Event” button at the top right corner of your screen to make your event public. Once your event is public, it’s ready for invitees to start signing up! All you have to do is sit back, relax, and wait for those signup notifications to start rolling in.

PS – if you don’t want to receive an email notification every time someone signs up, edits, or deletes something for your event, you can deselect this feature under the Event Settings tab.
Share Your Link
Now that you’ve created your amazing signup, how do you encourage participation?
There are three ways to invite people to participate.
- RECOMMENDED: We provide you with a shareable link to your signup after you launch your event (it’s the green button). You can share this link in a Facebook group, email, or social media post to invite guests. Once invitees receive the link, they can use it to visit your event page and sign up for your event.
- Why is this the recommended method? Because hard as we try, it can sometimes be tricky to get emails through the filters of email providers. If you share the link via your own email, you are likely sharing to known contacts. Same notion goes for social media channels…there are no filters to block your sharing!
- You can add invitees under the Invitees tab, which is next to your Event Page tab. All you need to do is input your invitee’s full name and email address, and we’ll email them an invitation to your event. You can add this information one-by-one or copy and paste a list of emails.
- You can select a list of individuals you’ve already invited to a previous signup and invite them to your new event.
Ready to get started planning with our Signup Tool? Start your free trial today!
PS – No obligation, no contract, and no credit card required to get started.